In my previous article, I demonstrated how to take project requirements and integrate them with LiquidPlanner using Zapier, a web-based application integration tool. Leveraging technology to automate administrative tasks is an excellent way to reduce a project manager’s administrative burden. Zapier makes this even easier with LiquidPlanner.
In this article, I demonstrate how project managers can import work breakdown structures into LiquidPlanner using Zapier.
Work Breakdown Structure Tools
There are a lot of different ways to develop a work breakdown structure including sticky notes, outlines, Visio, and scheduling tools. One of my favorite methods for brainstorming scope and developing a work breakdown structure is with mind mapping software. For this exercise, I am using Mindjet MindManager to develop the work breakdown structure. The latest MindManager release has built-in support for Zapier integration!
In this work breakdown structure, I’m developing the scope and task list to develop Grandpa’s Cabinets, a custom display case business. Grandpa’s Cabinets is a small business that develops acrylic display cases for model ship, airplane, and other scale modelers who want to protect their models and display their artwork attractively.
Using MindManager, I created the following work breakdown structure.

For each major section of the website, I defined several key tasks. For the Request a Quote page, I’ll need to do the following:
- Develop the Request Form
- Email Submission Results
- Store the data in the database
Instead of copying all these tasks from MindManager into LiquidPlanner, I will use the Zapier integration feature to send them to LiquidPlanner. Before I can send the zap, I need to configure the integration using the following steps.
Step 1: Login to Zapier and Make a Zap
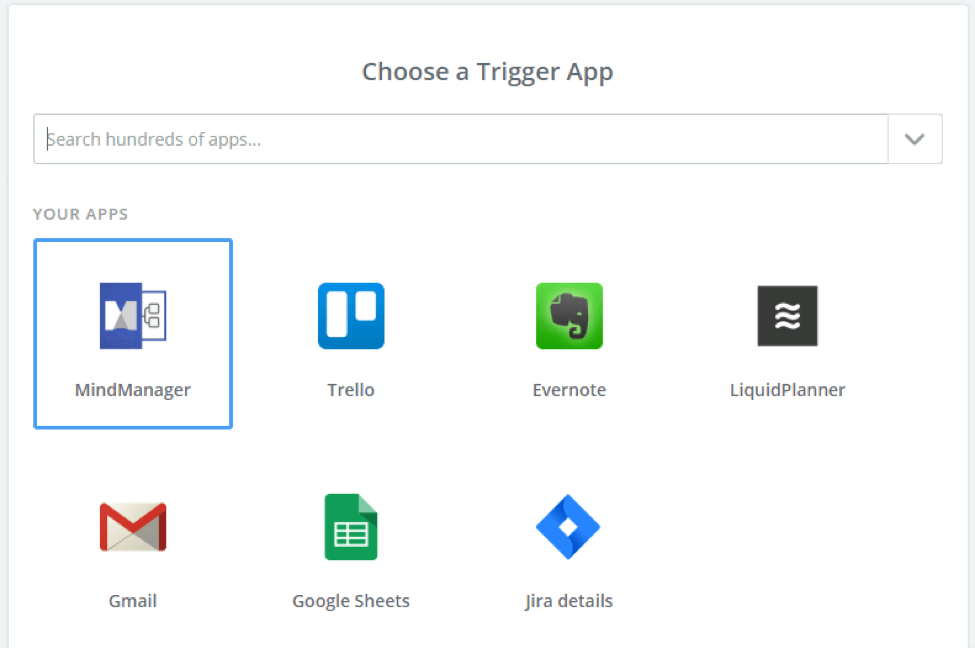
Login to your Zapier account and click the Make A Zap button. The Choose A Trigger App screen appears and you will need to search for the MindManager application.
Since I’ve configured zaps with MindManager and other applications before, the selection appears in the dashboard automatically.
Step 2: Select MindManager Trigger
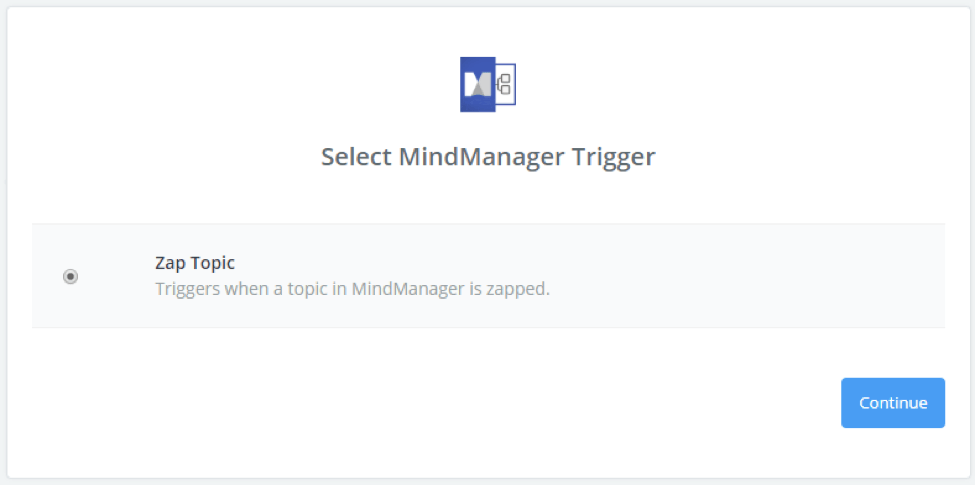
With this Zap, there is only one option for the MindManager Trigger. A MindManager topic will be sent to Zapier when it is zapped within the mind map.
Step 3: Connect MindManager to Zapier
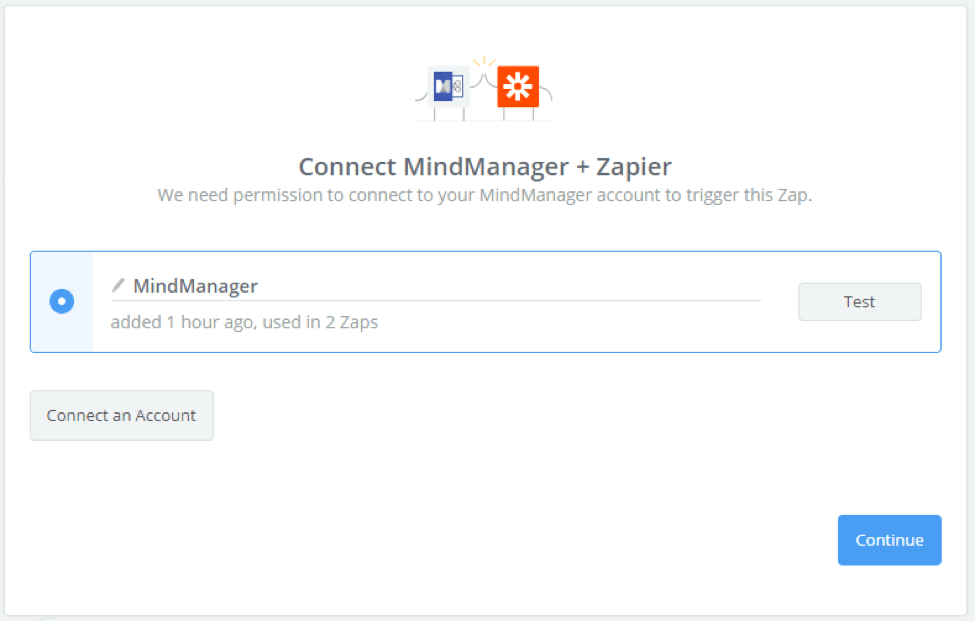
Sign in to your MindManager account within the Zapier environment to make the connection. You’ll only need to do this once as each connection is reusable when you create different zaps.
Step 4: Test the MindManager Connection
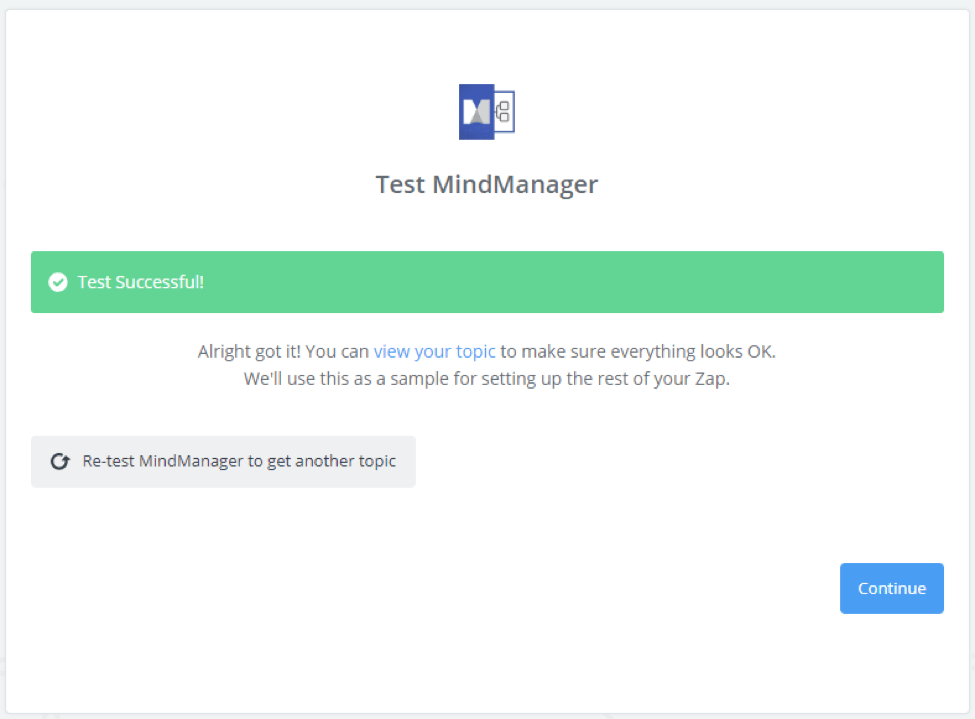
Clicking Continue will connect your MindManager account with Zapier and pull in a sample topic. The sample topic is used to configure the Zapier to LiquidPlanner integration in further steps.
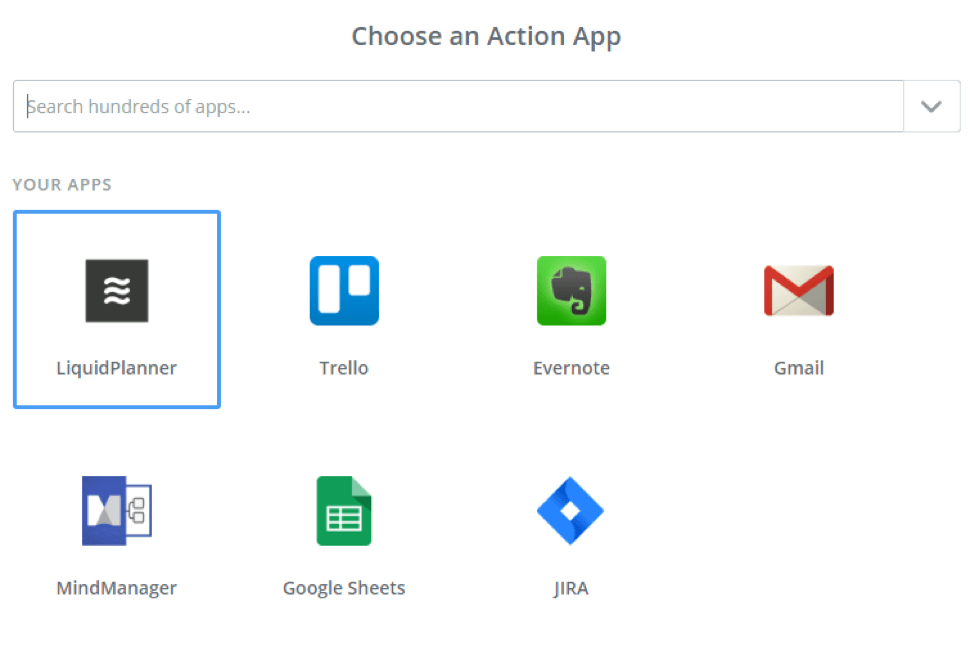
Step 5: Select the LiquidPlanner App for the Action
The next step is to specify the LiquidPlanner application for the Zapier action. Multiple applications can be triggered from one Zap. If you wanted to integrate with LiquidPlanner and send the same work breakdown topic to a Slack channel, you can add additional actions. For now, just select the LiquidPlanner app to configure the first zap.
Step 6: Specify the Action
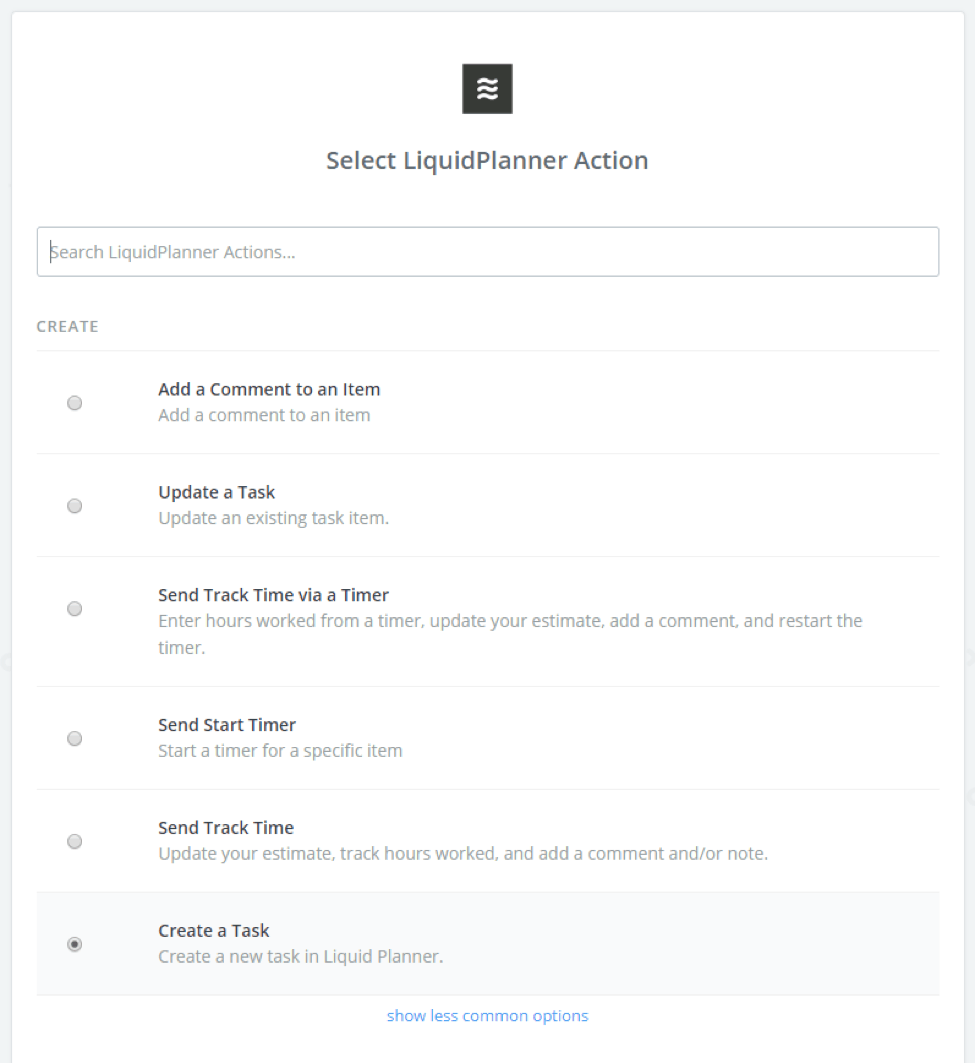
Similar to the previous tutorial, you will create a new task in LiquidPlanner with each Zap. You can also create a separate Zap to update existing tasks in LiquidPlanner. I’ve found once the WBS is in LiquidPlanner, you’ll want to manage the work in LiquidPlanner because the scheduling engine provides a useful forecast.
As in the screen shot below, just select Create a Task.
Step 7: Connect Zapier to the LiquidPlanner Account
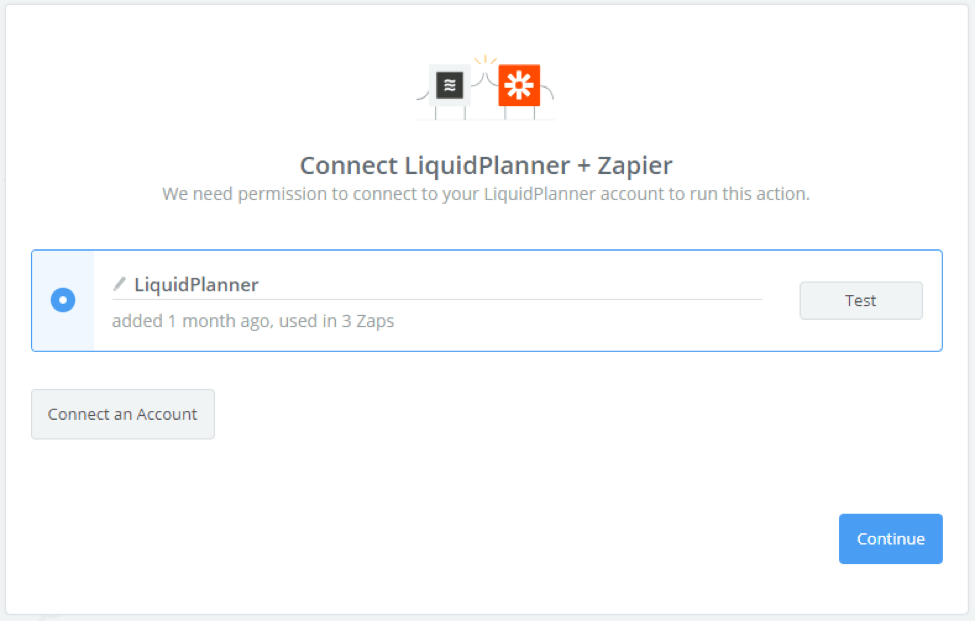
If you followed my previous tutorial, your LiquidPlanner account will already be connected to Zapier. If you need to connect to a new account or modify the LiquidPlanner account, connect and test the access to the LiquidPlanner in this step.
Step 8: Setup the LiquidPlanner Task
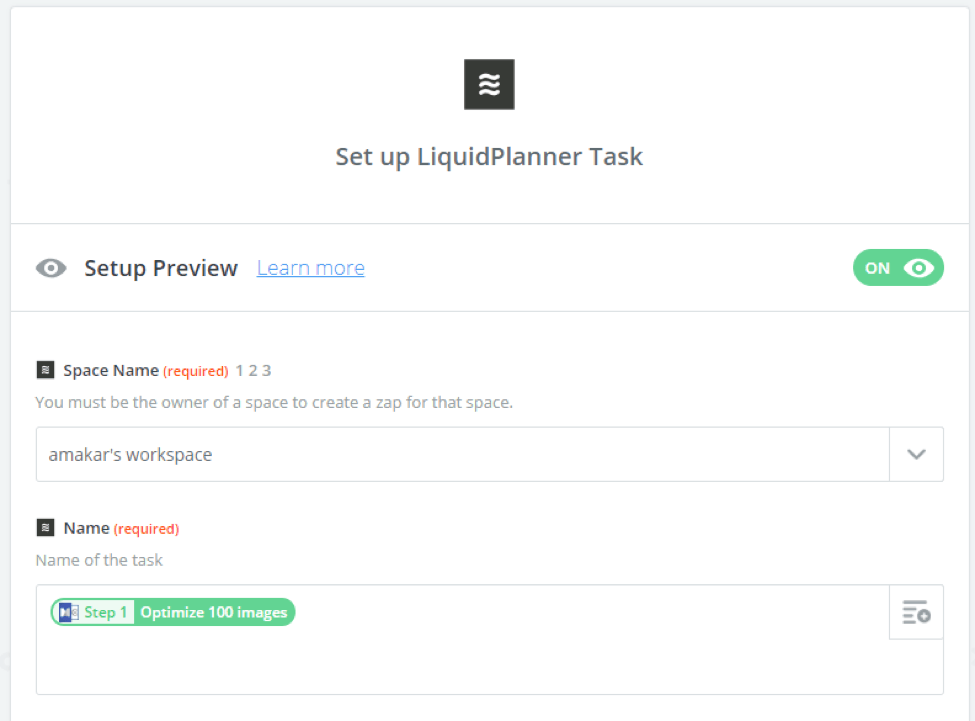
In this step, you will configure the integration between MindManager and LiquidPlanner. For this integration, I keep it simple and map the task name to the node in the mind mapping file. By clicking on the Insert a Field icon on the right, you can select from a variety of mind mapping file attributes.
Step 9: Send a Test Task to LiquidPlanner
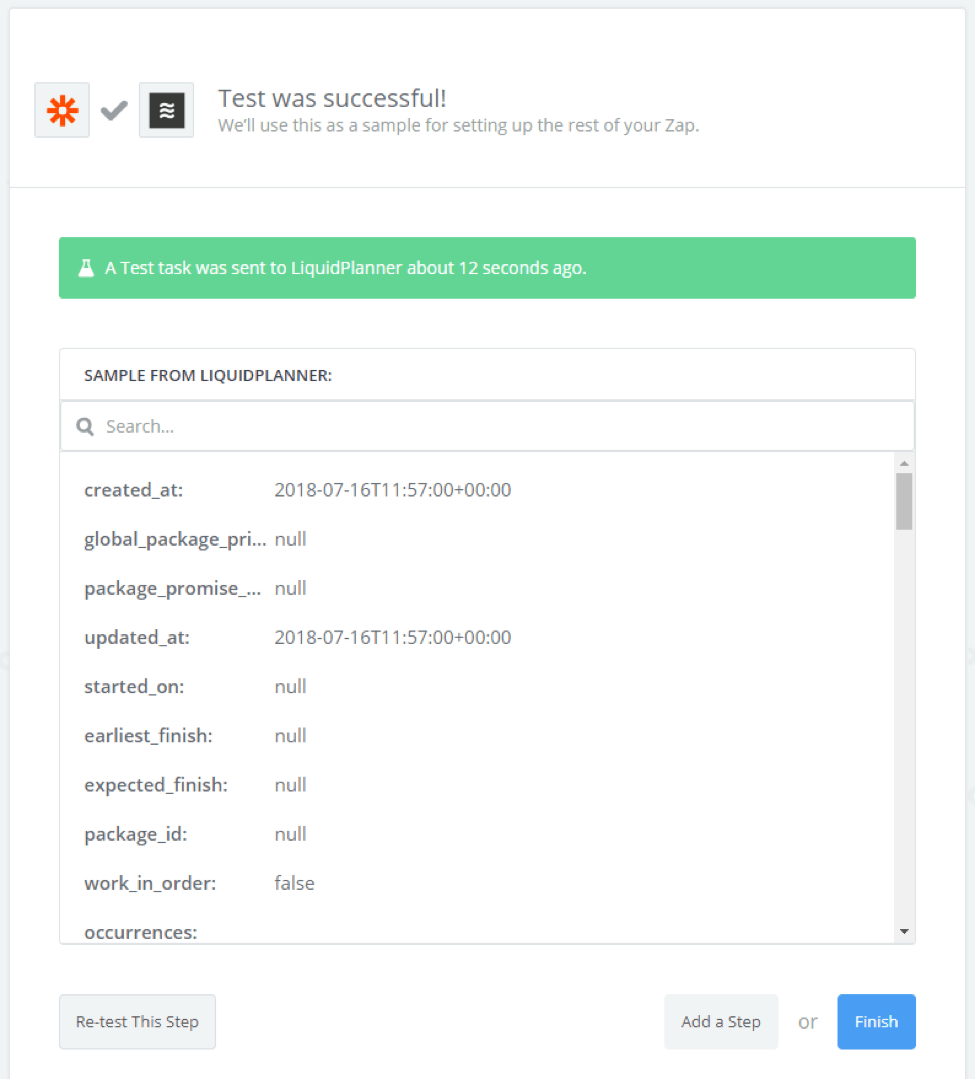
The Test this Step process will send a test transaction to LiquidPlanner. Ensure the integration works correctly and check your LiquidPlanner account to see if the sample task was successfully sent.
Step 10: Turn on the Zap
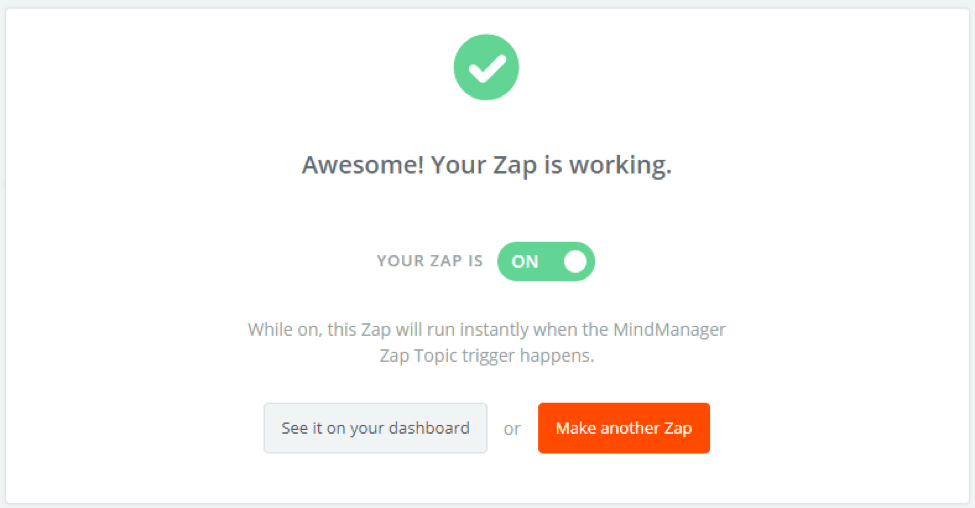
Enable the Zap by clicking on the toggle icon.
Step 11: Zap Your Mind Map
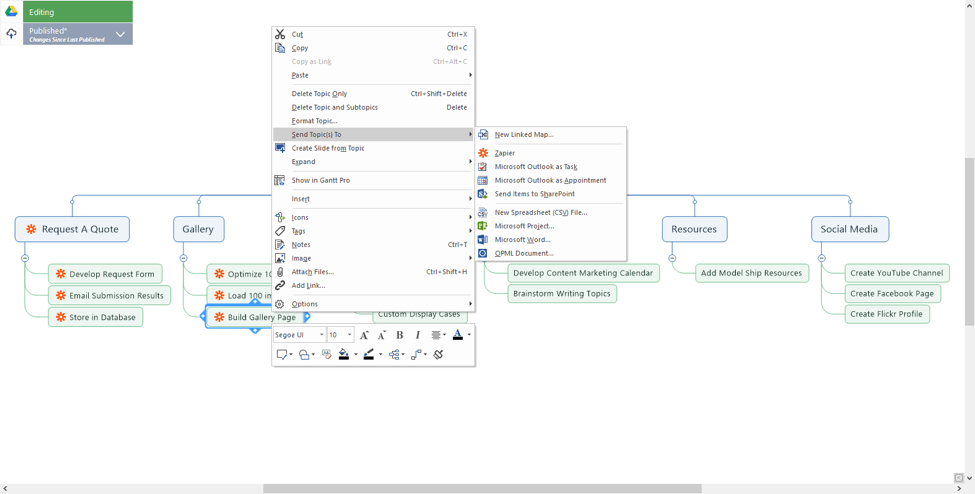
In Mindjet MindManager, select Advanced – Zapier and confirm the account is connected to Zapier. Then select multiple nodes in the map, right click and select Send Topics To, and select the Zapier option.
With a couple of clicks, you’ve sent the WBS package to LiquidPlanner for further schedule development.
Step 12: Build the Schedule in LiquidPlanner
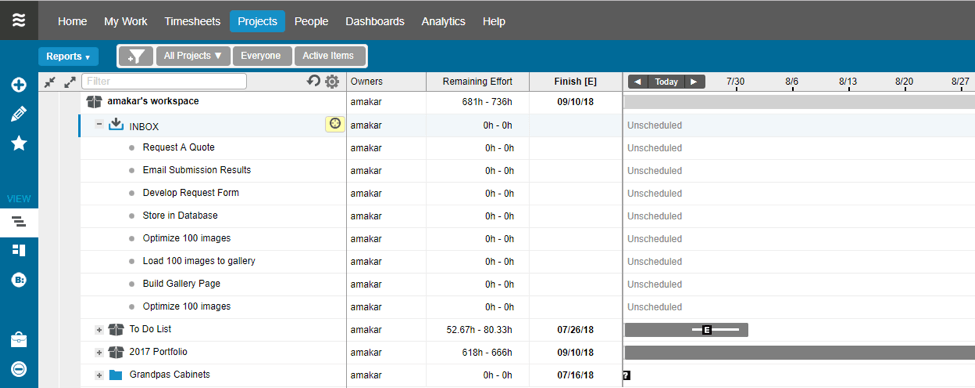
Go into LiquidPlanner and check the Inbox. You will see all the nodes that were sent from the mind map in your LiquidPlanner account.
MindManager + LiquidPlanner + Zapier = Easy Scheduling
Combining a mind mapping tool like Mindjet MindManager with LiquidPlanner makes it easier to schedule tasks and build an overall project schedule. Defining work often results from a brainstorming session as teams figure out their project scope and assign action items.
A mind map is an excellent tool to gather requirements, organize scope, and communicate with visual thinking.
By integrating the tasks with LiquidPlanner, the project manager saves time and the team can start collaborating on tasks easier. Compared to traditional single person desktop tools, this solution enables team to work faster without a ton of administrative overhead.
As web-based management tools continue to grow, project managers can leverage Zapier and LiquidPlanner for more project management automation.


