Saving Custom Status Filters in your workspace is a great way to find the data you need on the Projects tab as well as in your Dashboards and Analytics reports.
Create Custom Status Filters
To create a custom status filter, navigate to the Projects tab and click the Filter icon > Filter by Status > Create New.
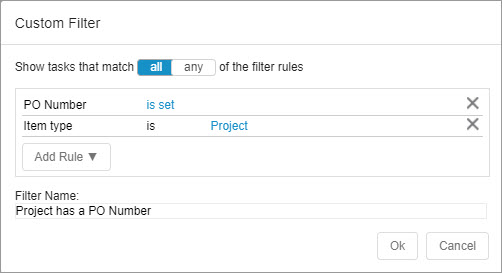
Click Add Rule to begin adding rules to your filter:
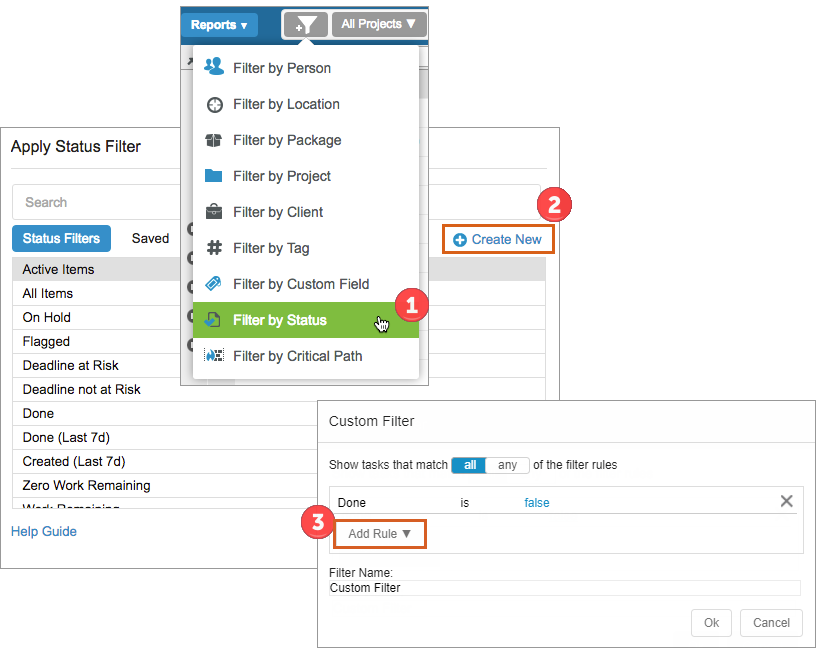
You may add rules for the following: activity, all dependencies satisfied, created, created by, date done, deadline date, delay until, earliest start, expected finish, expected remaining, has alert, has an activity, has broken dependencies, has comments, has dependents, has documents, has reference, is in a project, is late, is packaged, item type, last estimated, last updated, name, on hold, reference, shared, and uncertainty. Additionally, you can create rules to filter by your text, date, number and currency custom fields.
View and Edit Saved Filters
Once you have created a new custom status filter, you can find it on the “Saved” tab of the Status Filter options. If you need to change the rules of your custom status filter, click on the Edit link to make changes.
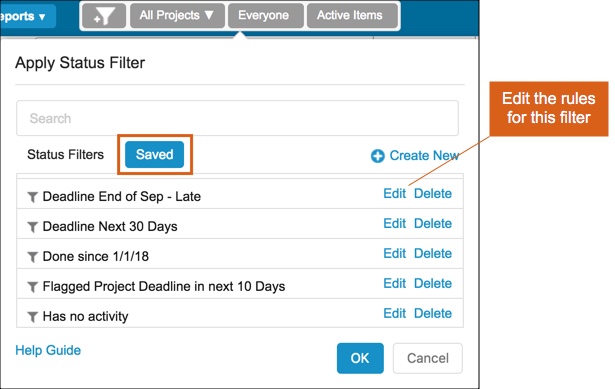
Examples
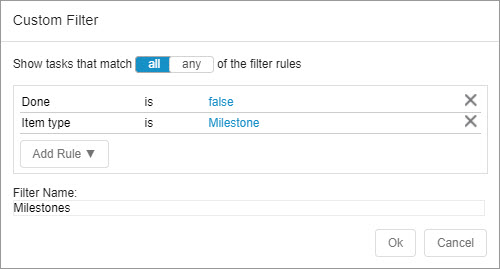
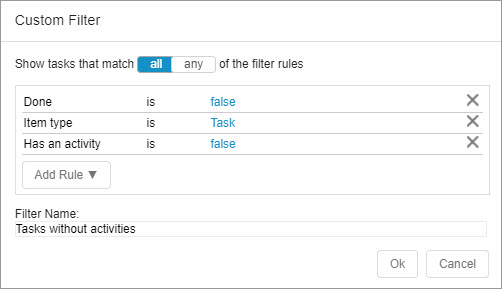
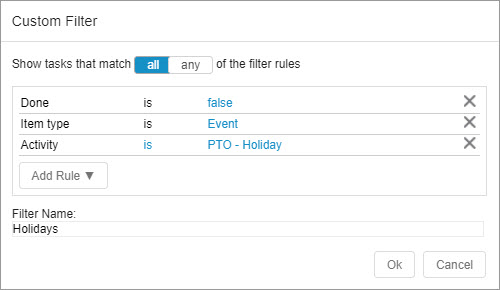
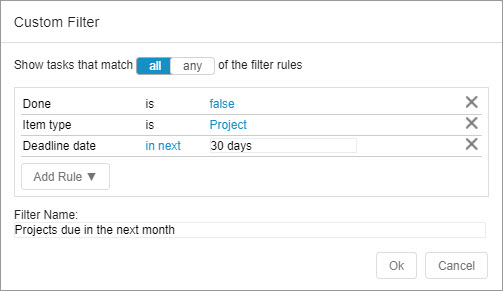
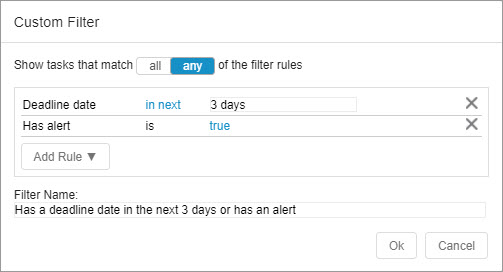
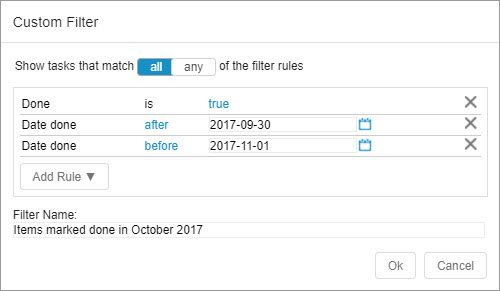
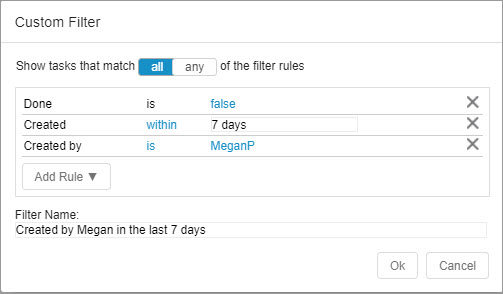
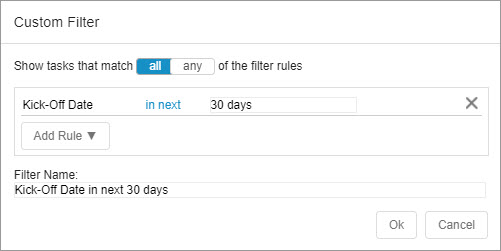
Below are some examples of custom status filters you might save in your workspace:
Filter by Item Type
Filter by Activity
Filter by Deadline
Filter by Date Done
Filter by Created
Filter by Custom Fields
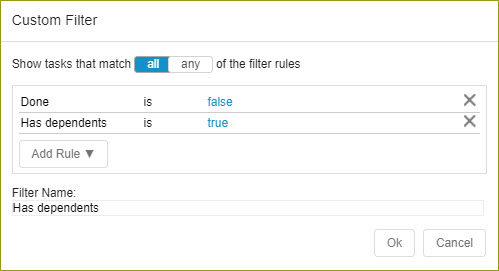
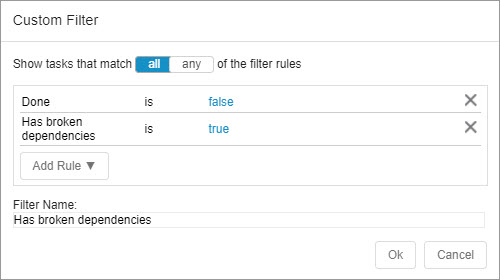
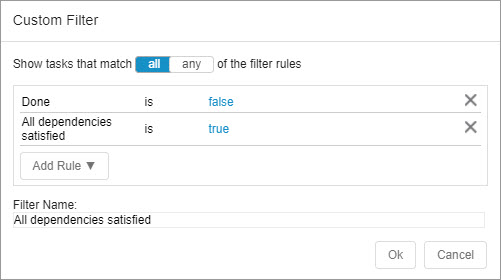
Filter by Dependencies Status
